Bookamat supports unlimited use of automated waiting lists. Using your business account you can add clients onto waiting lists, plus you can accept/reject waiting list spots on their behalf.
Clients can also join waiting lists and will be automatically notified, and can accept, if a space becomes available.
Setting Up Waiting Lists
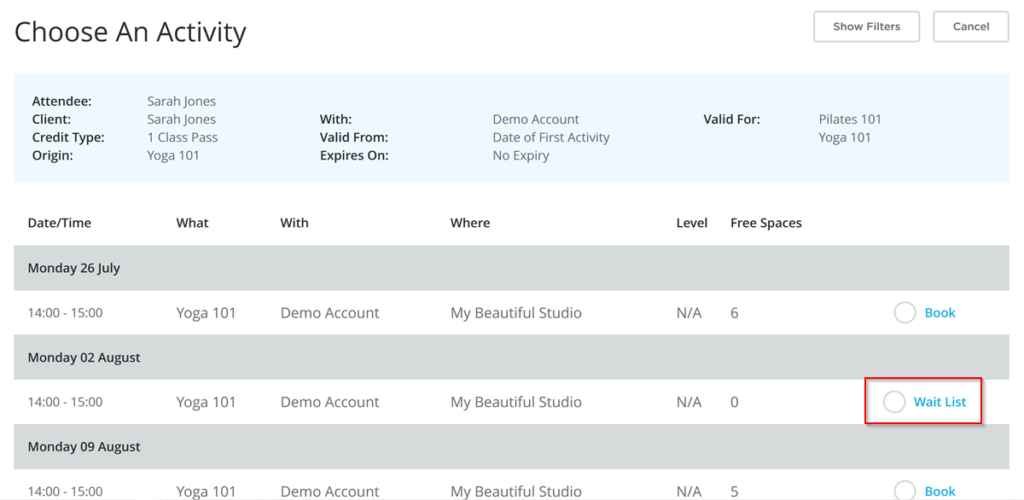
Setting up an automated waiting list is as simple as adding the number of waiting list spaces you want to make available when you add or edit an activity.
Once set, clients will see an option to join the waiting list for fully booked activities by using a credit.
How Does It Work?
Client’s on the waiting list will be notified via email before the scheduled start time of the activity if a vacancy becomes available. The notification email provides two options, either to ‘Check Vacancy’ or ‘Reject’ the offer.
Selecting “Check Vacancy” will check that the offer is still valid and, if so, will confirm the booking for the client.
Alternatively, clients may choose to ‘Reject’ or ignore the email which will cause their booking to be credited back to them at the end of the day.
Likewise, if a vacancy offer is not received by the client, their booking will be credited back to them at the end of the day.
Adding Clients To Waiting Lists
To add a client onto a waiting list on their behalf, go to the My Business > Credits page and select Options > Schedule for their desired client and credit.
You will be shown a list of valid classes and waiting list options. Select the waiting list and then confirm.
Managing Clients On Waiting Lists
To check clients on waiting lists, go to My Business > Schedule and select Options > Manage Participants. Any clients on the waiting list will be displayed at the bottom of the participant list with a waiting list label.

To remove a client from a waiting list select Options > Reject Waiting List.
To move the client from the waiting list into the activity, first ensure there is a vacant space, then select Options > Confirm Waiting List. Note that the confirm option will only be displayed if there is a vacant space available.