Bookamat includes integrated digital waivers complete with version control and history. When you create a new waiver, your clients will be alerted to sign the latest version online through their app / account. It’s quick and easy for them, saves time, and gives you peace of mind.
Plus, clients who have not signed your latest waiver will not be able to proceed to online payment until they have agreed.
How do I create a digital waiver?

1.	Go to My Settings > Waivers
2.	Enter a name for your waiver (this will be displayed to your clients)
3.	Type or paste your waiver agreement into the body section
4.	Select 'Store Waiver' to save
5.	Set 'Enable Waiver?' to 'Yes' to request your clients to agree
Version Control
Bookamat includes version control to help you keep track of your waivers as it gets updated. This also helps you to know exactly which version each client signed.
To create a new version of your waiver simply store your current waiver with a new title. This will create a new version which will also communicated to your clients as updated terms requiring new agreement.
For this reason we recommend including the date or version number in your waiver title.
Collecting Signed Waivers
Whenever a client agrees to your waiver online, Bookamat will automatically update the date they agreed to it displayed on your My Business > Clients page Signed Waiver column.
You can also generate a clients report (Reports > Clients) to see the date every client agreed to your waiver.
Non-Registered Clients
If a client has not registered at your studio, you can send them your digital waiver directly from your Bookamat business account.
How do I send a digital waiver?

1.	Go to My Business > Clients
2.	Select Options > Send Waiver for the desired client
3.	Confirm to send
Once sent, your client will receive an email from Bookamat on behalf of your studio requesting them to sign your waiver online. The email will contain a link to a page where your client can agree to your waiver online.
Manually Recording Waivers Received
In some cases it may be necessary to record the date a client agreed to your waiver manually. This can be done by going to the My Business > Clients page and choosing Options > Waiver Received. Inputting the date the waiver was agreed will be saved against the clients account.
Waiver History
You can view your history of waiver agreements from the My Business > Waivers page and selecting ‘View History’. Your waivers are displayed in chronological order and can be deleted if needed.
Your clients will also be able to view a history of the waivers they have signed from the My Account > Waivers page of their app / account.
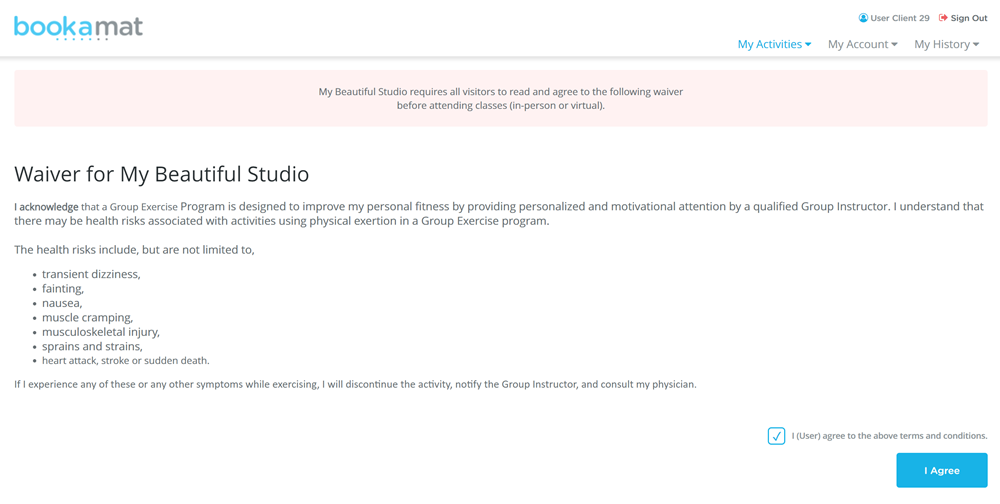
Waiver & Indemnity Agreement Examples
Your waiver and indemnity agreement should be unique to your business. It is important that your agreement is legally sound and therefore we recommend you seek legal advice with regards to drafting one.
Example