Making bookings for clients who have valid credits can be done quickly and simply. Bookamat also provides three ways participants can be added into activities.
1. Add Participants
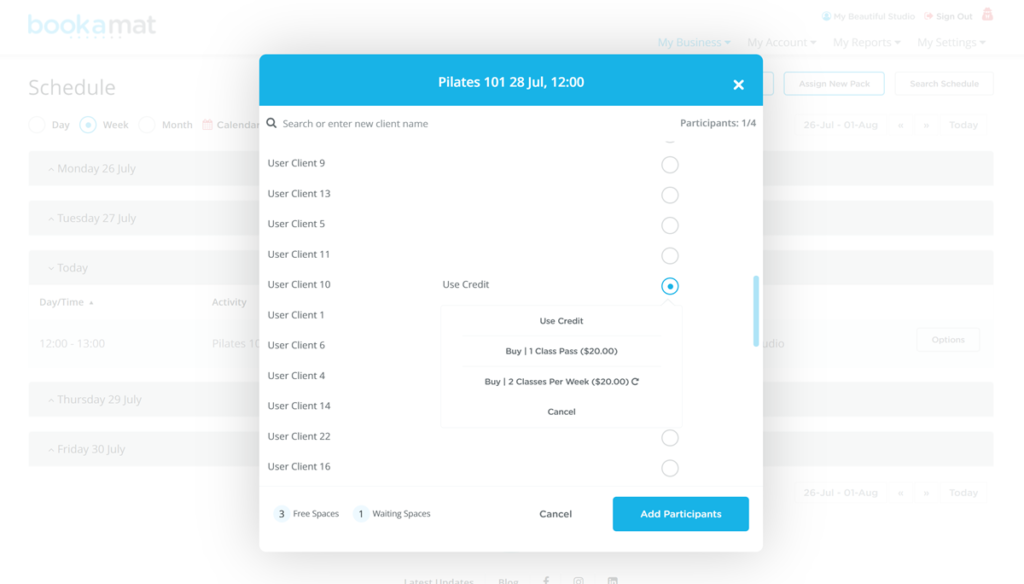
This method allows you to add multiple clients into an activity at one time.
Go to the My Business > Schedule page, select Options > Add Participants for any activity and specify the attendance for each client as you go.
If you don’t see a client on the list, type their name in the search box to locate them. If they are not found in the search you’ll be given the opportunity to add them as a new client.
Clients who have a valid credit for the activity will be displayed with a Use Credit option. If the client doesn’t have a valid credit, you will only see an option to buy them a new pass for that activity. See the example below.
Note once the maximum spaces has been reached you won’t be allowed to add any further participants. To add a client onto the waiting list please use the Schedule Credit option, see below.
2. Schedule Credit
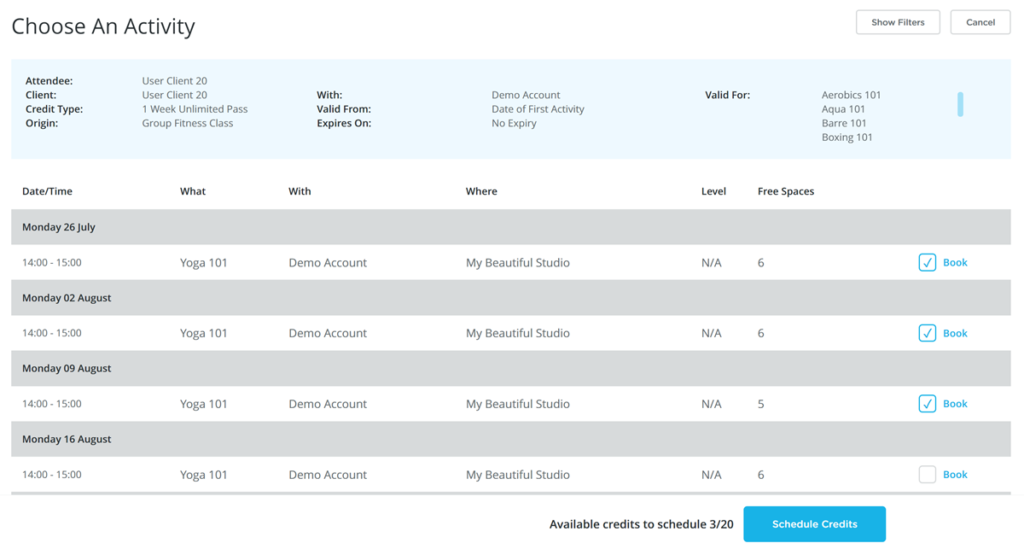
This method allows you to book one client into multiple activities at a time.
Go to the My Business > Credits page, locate the client and select Options > Schedule (Credit Name). You will then be taken to the activity selection page where you’ll be able to schedule one or more valid credits into different activities. See example below.
Activities which are fully booked will be shown as Wait List and can be booked using a credit. Note you can also schedule a clients credits from their account overview page.
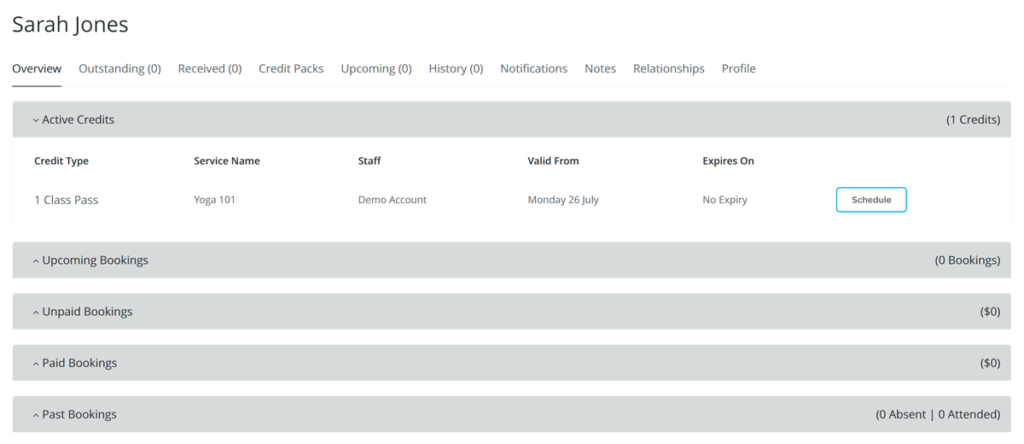
3. Account Overview
Credits can also be scheduled directly from the client’s account overview page.
To access a clients account overview page select the ‘View Account’ option, e.g. from My Business > Clients > Options or My Business > Billing > Outstanding > Options and wherever else it appears as an option. Navigate to the Overview tab and select Schedule, see example below.
This will take you to the same Schedule Credit screen as shown above where you can choose multiple activities.